
Last updated August 25, 2026
Free on-site gate assessment - hinges, posts, and your LiftMaster or Nice gate operator checked before anything is quoted
The assessment is free and the quote is the invoice.
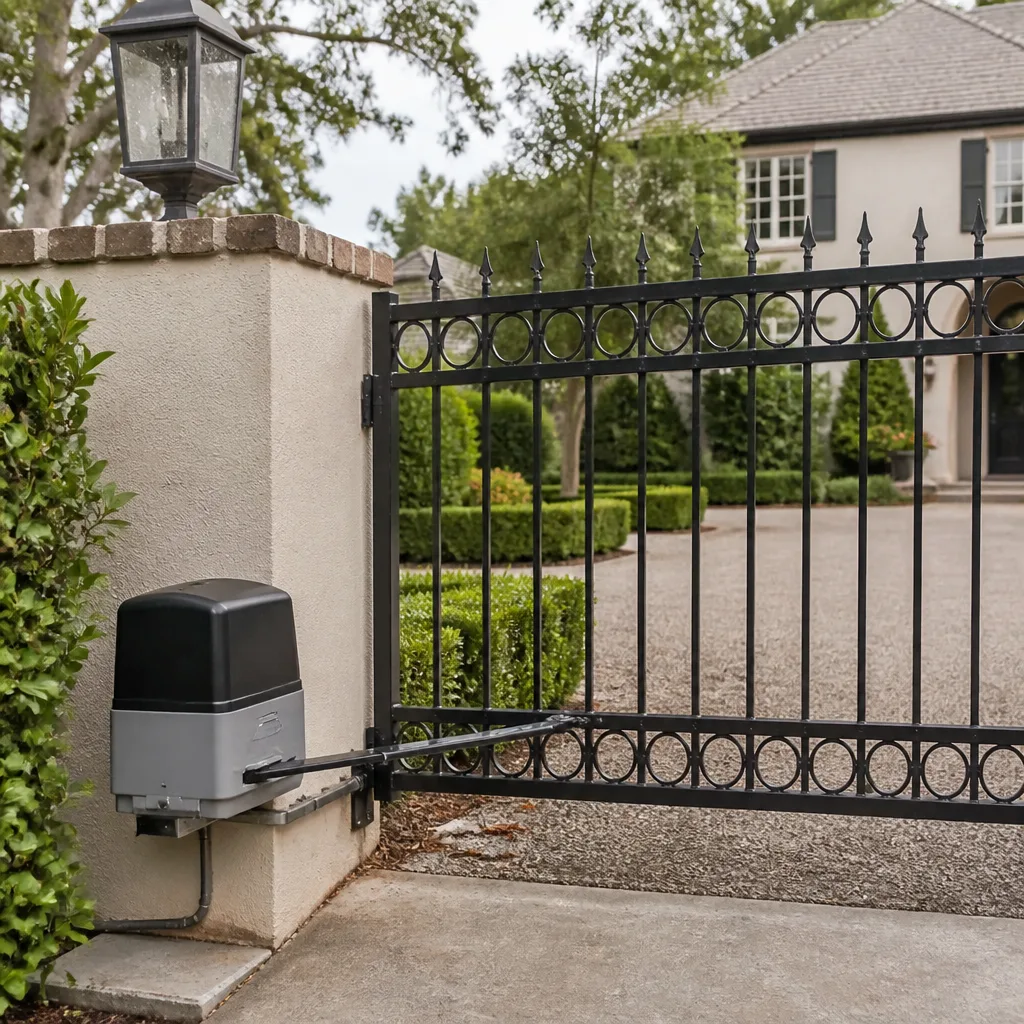
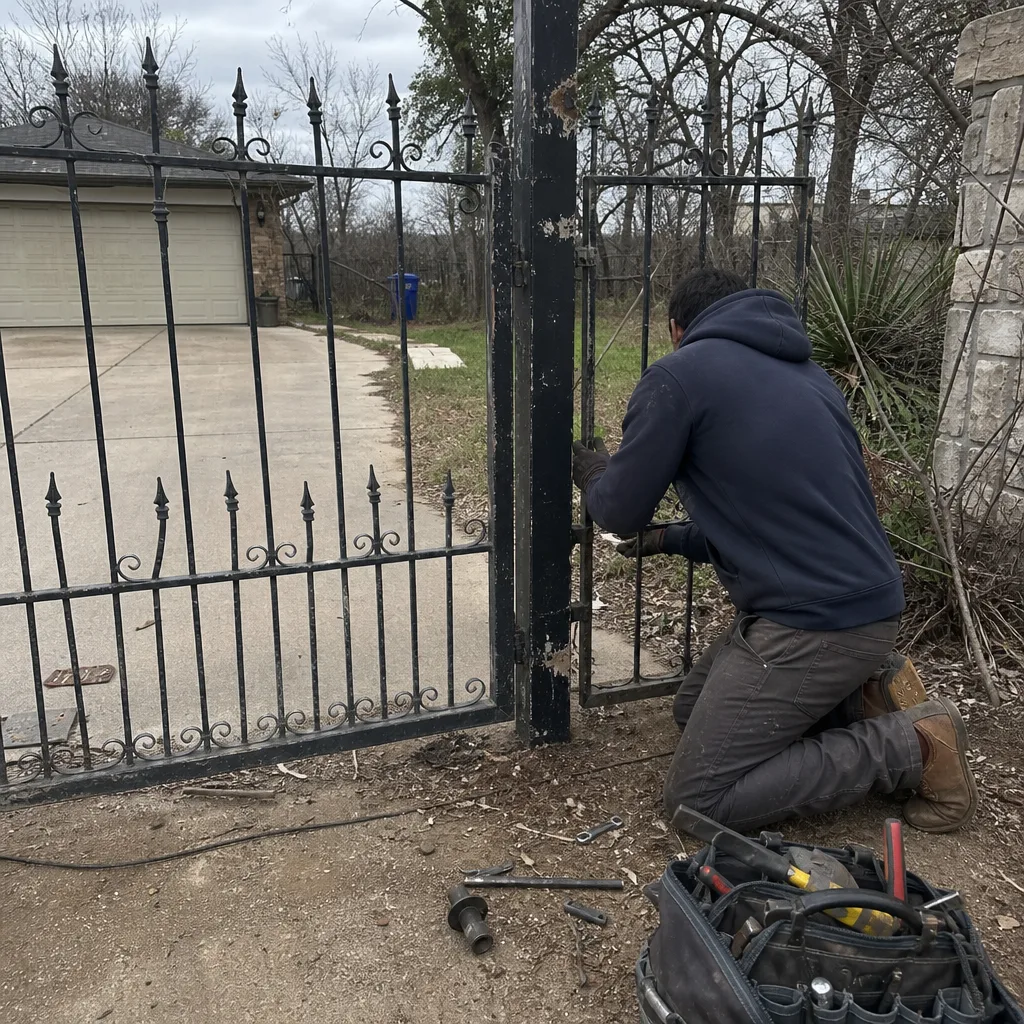 Before
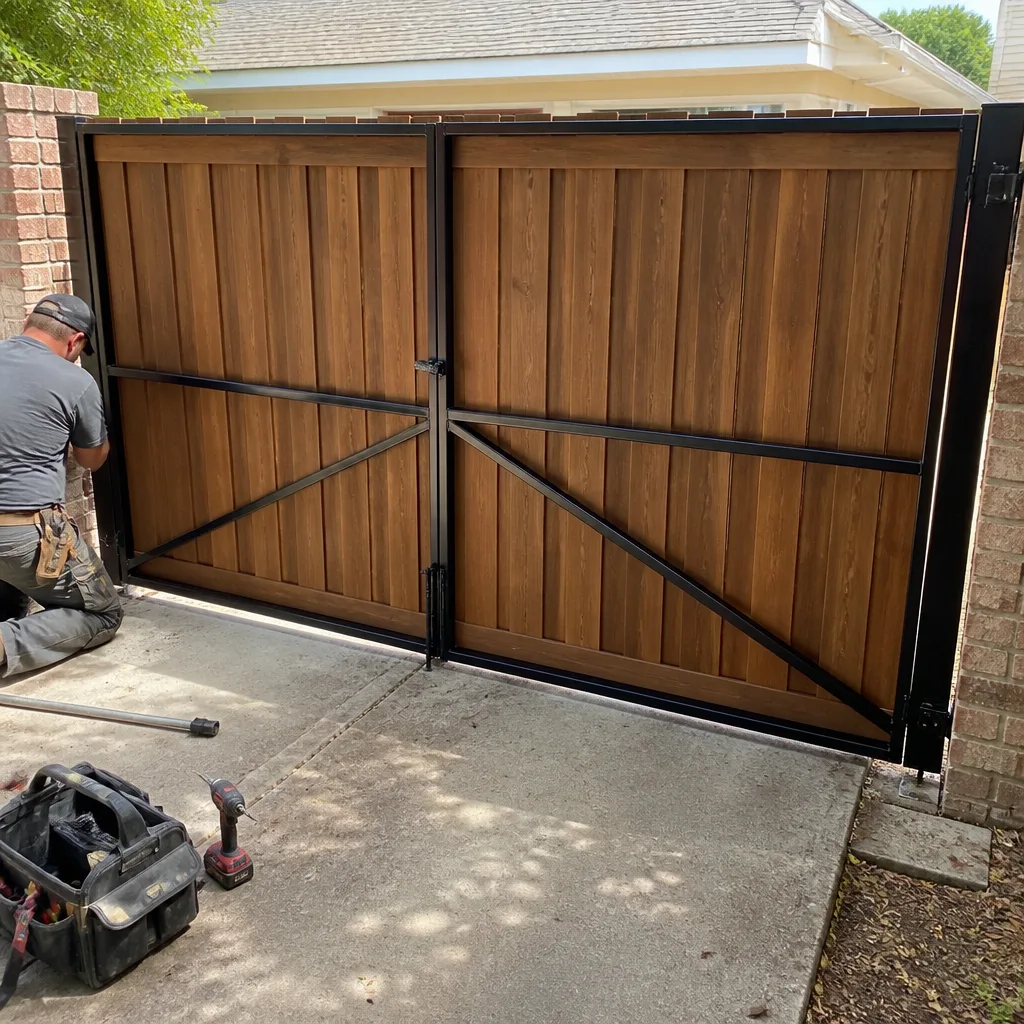 After
After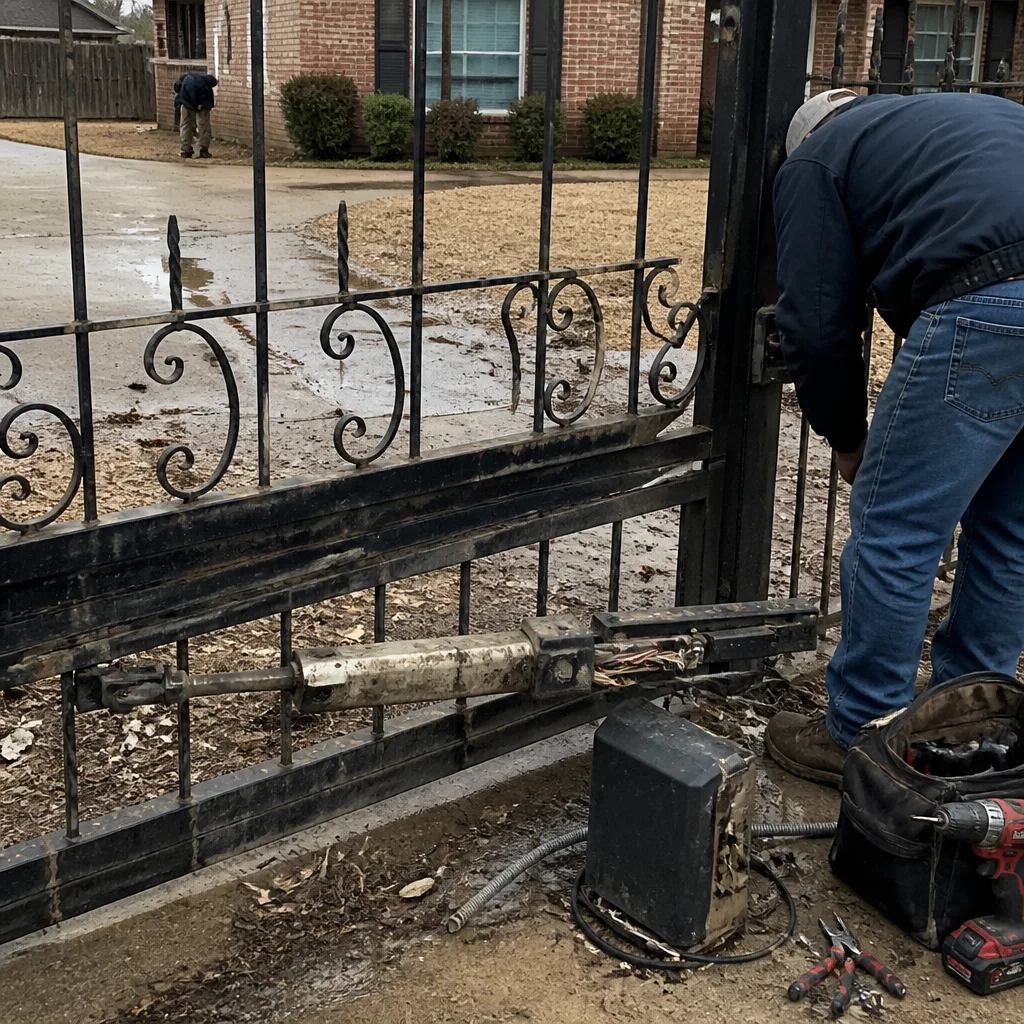 Before
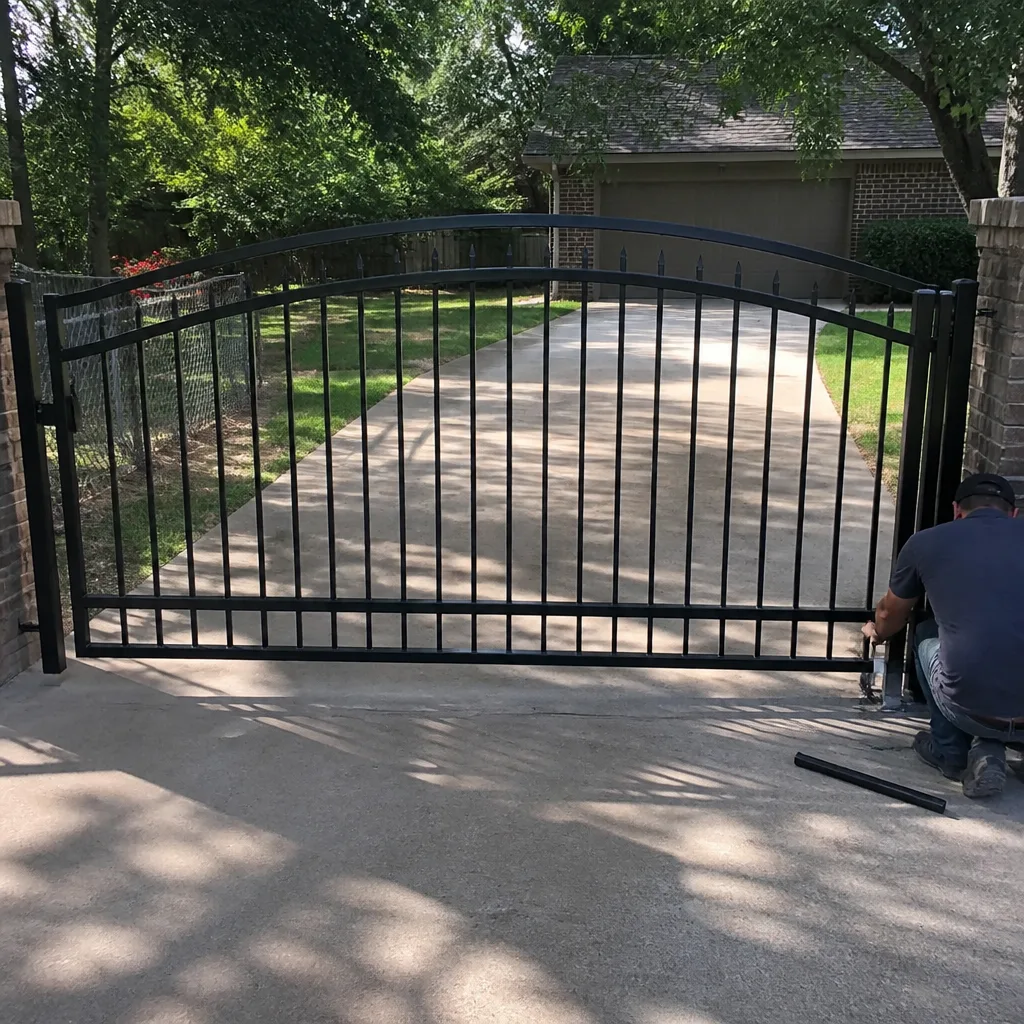 After
After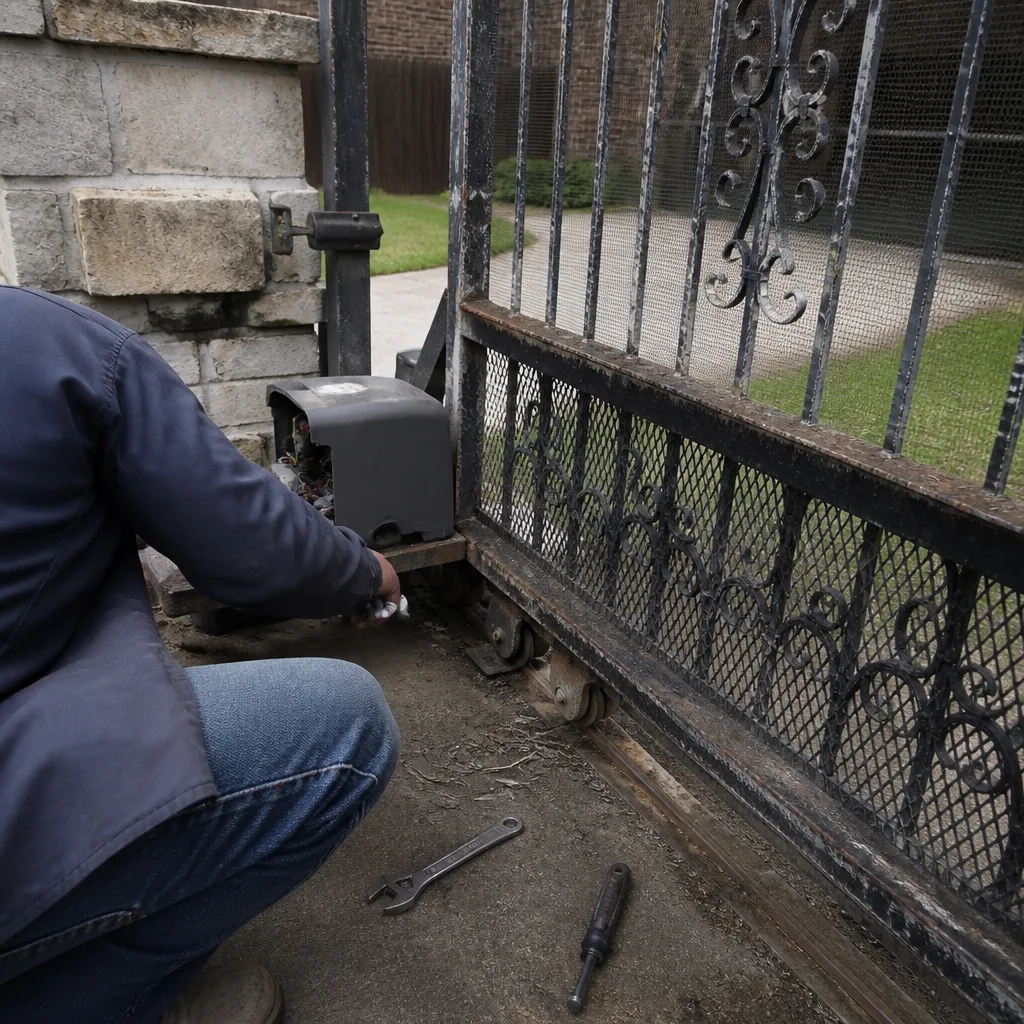 Before
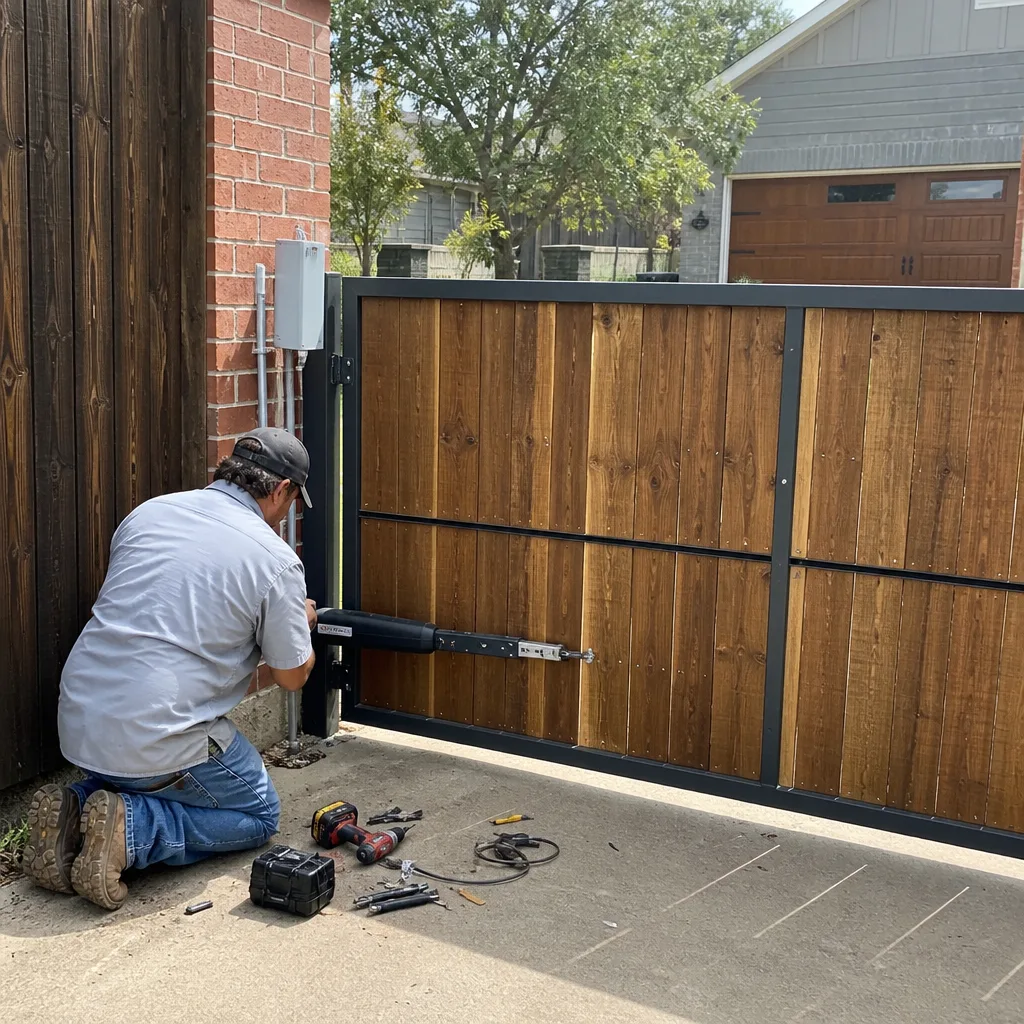 After
AfterGate Repair Maintenance Checklist for Cleburne Homeowners
Most driveway gates in Cleburne don’t die of old age. They die of neglect, and the failure usually announces itself on a Tuesday morning when you’re already late. The hinge that squeaked for six months finally binds. The gear that whined through July seizes in November’s first cold snap. The good news is that a gate is a machine with a small number of predictable failure points, and a homeowner who checks those points twice a year will catch almost every major problem before it becomes a tow-truck-sized bill. This guide lays out the exact maintenance routine we use in our own service work across Cleburne, from the foundation bolts to the photocells, so you can keep your gate swinging true for another twenty years. The Ironworks Gate Co. home page has more on our full service scope, but this is the checklist itself.
Quick Answer
Maintain your Cleburne driveway gate by checking hinges, wheels, track alignment, opener force settings, and safety sensors twice a year, with extra attention after spring storms and the first hard freeze. Lubricate pivot points every six months with a silicone or lithium spray, never WD-40. Test auto-reverse pressure at least twice yearly. Most gate failures trace back to one skipped maintenance item: a dry bearing, a loose bolt, or a misaligned photo eye.
Table of Contents
- The Twice-Yearly Tune-Up Every Cleburne Gate Needs
- Hinges and Bearings: Where Cleburne Gates Actually Fail
- Track, Wheels, and the Cleburne Dirt Problem
- Opener Force Settings and the Auto-Reverse Check
- Safety Sensors and the Sun Problem in Cleburne
- Power, Battery Backup, and What Spring Storms Do to Gate Electronics
- Winter Watch: The Cleburne Freeze-Thaw Cycle
- Common Mistakes to Avoid
- When to Call a Professional
- Frequently Asked Questions
- The Bottom Line
The Twice-Yearly Tune-Up Every Cleburne Gate Needs
Cleburne gives you two prime maintenance windows each year, and they line up with the weather patterns that punish gate hardware. The first window is late March, after the last frost but before the April hail season kicks in. The second is mid-October, before the first hard freeze. Set a reminder on your phone. The entire routine takes under an hour and requires a can of spray lubricant, a wrench set, and a pair of eyes that know what to look for.
Why these windows? Cleburne sits in Johnson County where spring brings violent thunderstorms with high wind and horizontal rain, and winter delivers overnight freezes that follow damp autumn ground. Moisture gets into unsealed pivot points, freezes, expands, and cracks castings. Wind gusts knock sensors out of alignment before you even notice the gate behaving oddly. A gate that gets its tune-up on schedule rarely surprises its owner.
Here is the spring and fall checklist we recommend for every Cleburne homeowner:
- Inspect every visible bolt and nut. Gates shake with every cycle. Bolts back out over time, especially the ones anchoring the opener post to its concrete pad. Tighten anything loose with a hand wrench; don’t overtighten cast parts.
- Lubricate all pivot points. Hinge pins, wheel bearings, and the drive chain or belt. Use a silicone spray or white lithium grease. Avoid heavy grease on exposed parts because it captures Cleburne dust and turns into grinding paste.
- Test the opener’s force settings. This is the auto-reverse function. Place a 2×4 flat on the ground in the gate’s path and run the gate into it. The gate should stop and reverse before crushing the board. If it doesn’t, the force limit needs adjustment.
- Check the photo eyes. Wipe the lenses with a dry cloth. Both sensors should have steady indicator lights, not blinking. Misaligned eyes are the single most common reason a gate refuses to close.
- Clear the track and ground rail. Remove leaves, gravel, sticks, and anything else the wind deposited. A pebble in the track is enough to trip the obstruction detection and open the gate back up.
- Look at the gate leaf itself. Check welds for hairline cracks, especially at the hinge-side corners. Check the bottom edge for rust blisters. Catch either early and a welder fixes it in twenty minutes. Catch it after the leaf sags and you’re replacing the whole panel.
Every one of these steps takes minutes. Skipping the seasonal routine because the gate is still working is how a $120 bearing job becomes a $900 opener replacement. We see it every month in neighborhoods from Bellevue to The Highlands, and it’s almost always a gate that simply never got its twice-yearly checkup.
Hinges and Bearings: Where Cleburne Gates Actually Fail
If a gate fails structurally in Cleburne, the hinge is the culprit nine times out of ten. This is not speculation. It’s what our service records show week after week across forty-two years of gate work. A 14-foot steel gate is a heavy lever, and the hinge pin is the pivot that takes every pound of that leverage. When the bearing inside dries out, steel grinds on steel. When it grinds long enough, the pin wears thin, the leaf sags, and the opener strains to move a gate that now drags on the ground.
The telltale signs are easy to spot if you know them. A gate that drops an inch or two when it starts moving has worn hinge bearings. A gate that scrapes the driveway on the latch side has already sagged. A gate that squeaks is a gate that has been dry for weeks, and the squeak is the metal telling you the bearing surface is polishing itself away. None of these fix themselves.
What a homeowner can do safely is inspect and lubricate. What a homeowner should not do is try to re-hang a sagging gate with shims and a floor jack. The hinge posts in Cleburne are often set in concrete footings that have settled over the years, and pulling the gate back into alignment without correcting the post means the problem returns within a season. A professional with a level, a welder, and the right lifting gear can do in one visit what a weekend’s worth of improvised repair won’t accomplish.
For lubrication, the rule in Cleburne’s climate is simple. Use a spray lithium grease or a dry-film silicone on unpainted hinge pins twice a year. Do not use WD-40 as a lubricant. It cleans and displaces moisture, then evaporates and leaves the metal drier than before. After spring storms, check hinges for grit. After the first freeze, check for stiffness. A hinge that resists movement in January is telling you it’s been neglected all year. When it stops moving entirely, half the gate’s weight transfers to the opener motor, and the motor is not built to carry the gate. That’s when the service call gets expensive.
Track, Wheels, and the Cleburne Dirt Problem
Cleburne sits on calcareous clay and limestone soil that turns to dust in summer and muck after rain. For a sliding gate, that soil is the enemy. It drifts onto the track, packs into wheel bearings, cakes onto the drive chain, and grinds against every moving surface. Slide gates fail in Cleburne at a higher rate than swing gates for exactly this reason: they run along the ground, and the ground here is abrasive.
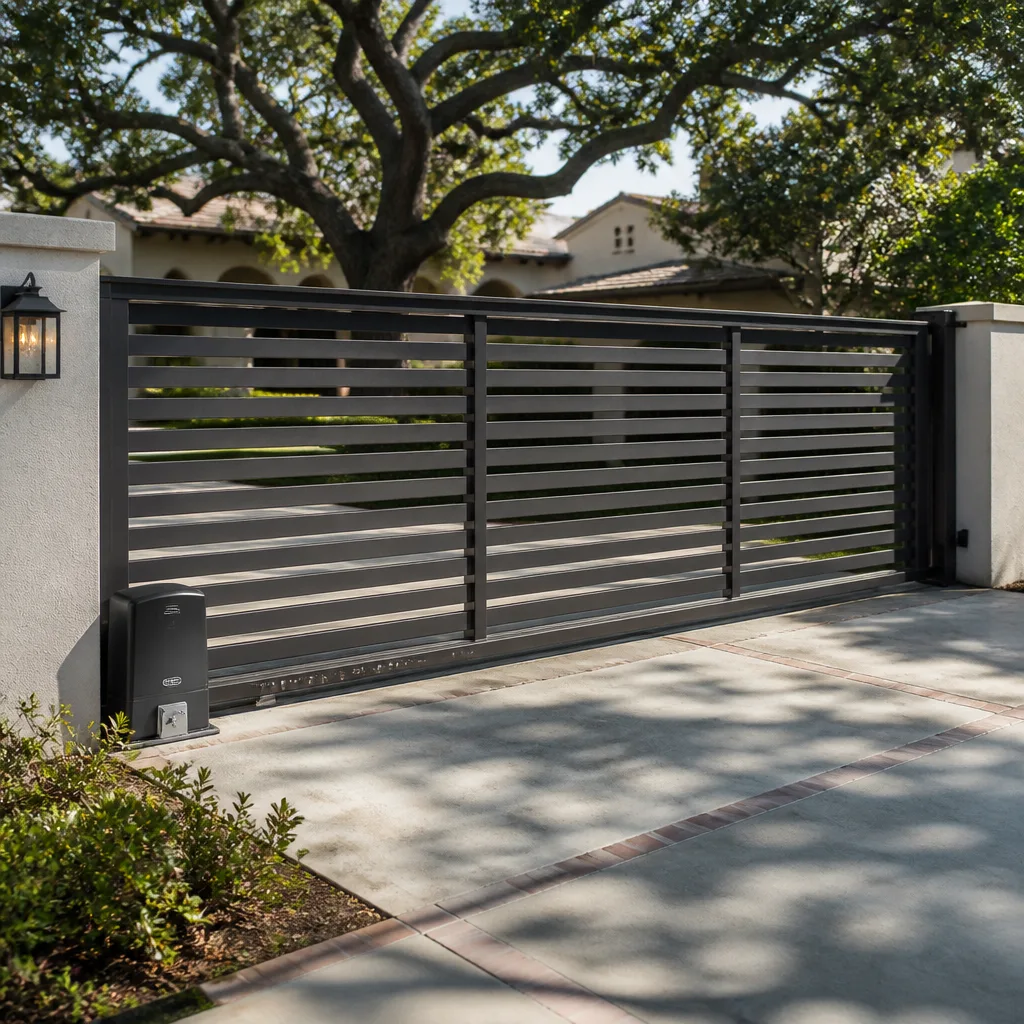
The maintenance routine for a sliding gate starts with the track itself. After any wind event, and at minimum monthly during dry spells, walk the track and clear debris. Check that the track is still anchored firmly to its pad; a track that shifts even half an inch changes the geometry of the entire gate. Check the guide rollers on top of the gate. They should spin freely and sit snug against the gate panel. If they rattle, the gate can cantilever sideways and start binding in the track.
The wheels at the bottom of the gate carry enormous load, and their internal bearings are shielded but not sealed against Cleburne’s fine dust. Listen for a gritty sound when the gate moves. Feel for wobble by gently rocking the gate against the track. A wheel that wobbles is a wheel that has already lost its bearing, and a gate on a failed wheel has to drag the remaining mass across the ground until the motor overheats. We recommend a wheel check as part of every seasonal tune-up, and we replace wheels before the gate shows visible sag. By the time most homeowners notice the sag, the wheel has been dead for months.
For double swing gates, the same dust settles into the bottom pivot cups and the latch mechanism. A latch that won’t catch is often just a pocket full of compacted dirt. Cleaning it out restores proper operation in under a minute. Leaving it packed means the gate bounces off the latch and slams back, which sends a shock load through the hinges every single cycle.
Opener Force Settings and the Auto-Reverse Check
Every automatic gate opener made in the last twenty years has two force settings: one for the opening direction, one for closing. These settings determine how hard the motor pushes before it reverses. Set them too low and the gate halts partway on a windy afternoon. Set them too high and the gate will close against a child, a dog, a car door, or a trash can without stopping. The force limit is a safety system, and in Texas it carries legal weight. A gate that fails to auto-reverse is a liability no homeowner should carry.
Here is the correct procedure to test and adjust force settings on most residential openers, including the BFT and Linear units we commonly see on Cleburne driveways:
- Locate the force adjustment. On most openers this is two potentiometers or digital settings on the control board, labeled OPEN and CLOSE. On linear-arm swing openers, remove the cover and look for two small dials near the terminal strip.
- Start at the manufacturer’s minimum. Run the gate through a full open and close cycle. If it completes the cycle without reversing or stopping early, the force setting is at least roughly correct.
- Introduce resistance. Place a 2×4 flat on the ground in the gate’s path during closing. The gate should stop on contact and reverse within two seconds. If it pushes through the board, the force is set dangerously high.
- Test the opening direction too. Hold the gate edge lightly as it opens. It should stop when you apply firm resistance. A gate that rips itself out of your hand on open has the force set too high.
- Increase minimally if needed. If the gate reverses on its own during normal operation with no obstruction, bump the force up slightly and retest with the 2×4. The goal is the lowest setting that reliably completes a normal cycle and still reverses on obstruction.
- Record your settings. Write down the final values and keep them near the opener. If the gate’s behavior changes later, you’ll know whether someone has adjusted the settings.
This is not a task to rush. It takes ten minutes and it’s the difference between a gate that is safe and a gate that is dangerous. Every opener we install in Cleburne, whether a Viking swing arm or a Ghost Controls slide motor, gets a documented force test before we leave the driveway. The 90-Day Done Right Promise covers that adjustment if anything drifts in the first season.
Safety Sensors and the Sun Problem in Cleburne
Cleburne gets the full Texas sun, and that sun is a dedicated enemy of gate photocells and infrared safety edges. The classic symptom is a gate that opens fine but refuses to close, or a gate that reverses immediately after touching the closed position. Homeowners call us certain the motor is dead. Most of the time it’s a photo eye that has gone blind.
Photo eyes work by sending a beam between two sensor housings mounted near the ground on either side of the gate opening. In Cleburne, three things routinely break that beam. Direct late-afternoon sunlight hitting the receiver lens overwhelms the sensor and reads as an obstruction. Dust from summer’s dry soil coats the lens until the beam is too weak to register. Spider webs inside the lens housing scatter the beam. Any one of these produces the same maddening behavior: the gate starts to close, thinks something is in the path, and opens right back up.
The homeowner check is simple. Wipe both lenses with a dry microfiber cloth. Clear any cobwebs inside the housing. Then shade the receiver side with your hand and see if the indicator light changes. If the gate works normally in the morning but fails in the afternoon, sun glare on the receiver is the likely culprit and the sensor may need a sun shield installed. These are inexpensive and effective in our latitude.
For gates with an infrared safety edge running along the leading edge of the leaf, the test is different. The edge should reverse the gate when compressed anywhere along its length. Test it at three points: bottom, middle, top. A hardened, cracked, or waterlogged rubber edge needs replacement, not repair. Safety edges on Cleburne gates endure heat, UV, and hail, and the rubber deteriorates faster here than it does in milder climates. We replace more safety edges on five-year-old gates in Johnson County than anywhere else in our service area. The heat simply bakes the rubber until it loses flexibility, and a rigid safety edge is a false sense of security. It won’t compress when it matters.
Power, Battery Backup, and What Spring Storms Do to Gate Electronics
Cleburne sits in a storm corridor that produces some of North Texas’s most violent spring weather. High wind, hail, and lightning come with the territory, and gate electronics take the brunt of all three. Every homeowner with an automatic gate should know where their opener disconnect is and how to use it, because there will come an afternoon when the gate needs to be opened manually and the power has never been more out.
The manual release is typically a small lever or knob on the opener arm or slide carriage. Pulling it disengages the motor from the gate so the leaf can be swung or slid by hand. On some models the release requires a key. Find yours now, not when the gate is stuck. We recommend zip-tying a bright piece of flagging tape to the release handle so you can find it in the dark. A gate stuck shut during an emergency is worse than no gate at all.
Power surges are the quiet killer in Cleburne. Lightning doesn’t have to strike the gate directly. A strike on the pole transformer two blocks away sends a transient through the house wiring, and the opener control board is frequently the first casualty. Surge protection on the opener circuit is cheap insurance. A whole-home surge protector at the panel plus a dedicated plug-in suppressor at the opener outlet covers both paths. Without protection, one spring storm can take out a $400 control board and the $250 receiver uptown.
Battery backup systems are becoming standard on new installations, and for good reason. When the power fails, the gate should still open. If your opener has a battery, test it quarterly by cutting power to the opener and running the gate on battery alone. A battery older than three years in Cleburne’s heat has typically lost meaningful capacity. Some brands run a self-test cycle automatically; check your manual for how to read the status light. A dead battery discovered during an outage might as well not exist.
After any storm that produced hail or high wind, do a quick post-storm walk. Check the gate path for debris. Check that the arms are still attached and the bolts are tight. Check that the photo eyes are still aligned. Check that the control box cover is still seated. Two minutes after a storm catches small problems that become large problems by the next storm.
Winter Watch: The Cleburne Freeze-Thaw Cycle
North Texas winter is not a deep freeze. It’s a series of shallow freezes followed by rapid thaws, repeated for three months, and that cycle is harder on gate hardware than a single cold snap would be. Water in the ground freezes, expands, lifts the track. Water in a hinge pin freezes, forces the grease out of the bearing, thaws, and leaves a void that lets moisture sit against the steel. Every freeze-thaw cycle works the metal a little more. By February, a gate that was fine in October may be dragging, binding, or popping.
The freeze-thaw cycle hits Cleburne clay soil especially hard. The clay holds water and heaves when it freezes. A gate post that was perfectly plumb in October can be pulled out of alignment by February, not because the post moved but because the concrete footing did. There’s no homeowner maintenance that prevents clay heave entirely, but there are two things that help. First, make sure water drains away from the gate footings so the soil under the concrete doesn’t stay saturated going into a freeze. Second, keep the hinges and top pivots lubricated with a product that resists water washout. A dry film spray holds up better than grease in freezing conditions.
The most common winter call in Cleburne is a slide gate frozen to its track after an ice storm. If this happens to you, do not force the opener to move the gate. The motor will stall, the gear will strip, and the repair just tripled in cost. Wait for the thaw or use plain water to melt the ice. Never use de-icing salt near a gate, especially on an aluminum gate. The salt attacks the metal and the electrical components, and Cleburne doesn’t use road salt for exactly this reason; homeowners who introduce it to their gate hardware regret it.
Winter is also when battery performance drops. A battery that tested fine in October may show its age in February. Test backup batteries now, not in April. The flashlight test, the disconnect test, the force test, the photo eye wipe: do all of these before the first hard freeze arrives, and the gate simply works through winter. That’s the whole point of this checklist.
Common Mistakes to Avoid
- Using WD-40 on gate hinges. It’s a solvent and water displacer, not a lubricant. It washes out the grease that was already in the bearing and then evaporates, leaving dry metal on dry metal. Use a silicone or lithium spray made for the task.
- Ignoring a squeak. A squeaking gate is a gate that’s been dry long enough to start polishing its own bearing surfaces. By the time the squeak stops, the bearing is often gone and the pin is worn thin. Lubricate at the first sound.
- Raising the force setting until the gate “just works better.” High force may push through a binding hinge or a dirty track, but it’s also pushing past safety stops. The gate should reverse on contact with firm resistance, not power through it. Fix the binding; don’t mask it with force.
- Power-washing the gate and opener every spring. Direct high-pressure water forces its way into bearings, into the control box, into connector pins. Cleburne dust doesn’t need a pressure washer; it needs a damp rag and a dry brush.
- Waiting until the gate is fully stuck to call. By the time a single opener gear is stripped, the whole gearbox may need rebuild. A gate that’s slow, noisy, or hesitant is giving you a warning. The warning is free. The repair after the failure is not.
- Adjusting force settings without testing the auto-reverse afterward. Every force adjustment must be followed by the 2×4 test. No exceptions. A gate that closes against resistance is a gate that hurts someone eventually.
- Neglecting the manual release. If you can’t disengage the opener and the power is out, you have no gate. More importantly, you have no way to get a vehicle out of the driveway in an emergency. Find and test the release this weekend.
When to Call a Professional
Call a professional when the gate sags, when the hinges have visible play, when the opener makes a grinding sound, when the welds show cracks, when the gate reverses with no obstruction, or when the auto-reverse fails the 2×4 test on repeated attempts. Those are not maintenance items. They are structural or electrical failures that get worse with every cycle, and a homeowner’s improvised repair usually accelerates the damage. High-tension springs and cables on certain gate designs carry stored energy; a failure under tension can cause serious injury. Leave those to a trained hand. Ironworks Gate Co. offers free estimates in Cleburne, and our written 90-Day Done Right Promise means a repair is not done until it is right. Call (817) 961-9404, and a live person answers around the clock.
Frequently Asked Questions
Twice a year is the baseline in Cleburne’s climate, in late March and mid-October. If you live on a gravel or dirt road, add a third lubrication in midsummer because the dust load is higher. Use a silicone or lithium spray designed for metal pivot points, not WD-40.
Direct Texas sun on the photo eye receiver lens is the most common cause in Cleburne. The infrared beam gets overwhelmed by ambient light, and the gate reads it as an obstruction. Wipe the lenses, clear cobwebs, and consider a sun shield for the receiver.
Most opener repairs in Cleburne fall between $180 and $600, depending on whether the board, motor, gear, or arm failed and which brand is mounted. A full opener replacement typically runs higher and varies by gate size and weight. Call (817) 961-9404 for an exact quote on your gate; estimates are free and the price is agreed before any work starts.
A sagging gate is usually a bearing or post issue, and both require lifting gear, a level, and often a welder to correct properly. Improvised shimming works temporarily and fails again within a season. This is the repair homeowners most often attempt and least often get right.
Yes. Spring storms knock out power in Johnson County every year, and a gate without battery backup becomes a manual gate at the worst possible moment. Test your battery quarterly and replace it every three years in Texas heat.
We’re trained and equipped on nine major gate-automation brands, including BFT, Linear, Viking, and Ghost Controls, so the correct fix is made on the first visit whatever is mounted on the driveway. Call (817) 961-9404 and describe what you have; a live person answers twenty-four hours a day.
The Bottom Line
A Cleburne driveway gate is a machine, and like any machine it responds to regular attention. Twice a year: lubricate the pivots, tighten the bolts, test the force settings, wipe the photo eyes, clear the track. After every storm: walk the gate path and look for wind damage. Before every freeze: check the battery and the drainage around the footings. The gate tells you when it’s hurting; a squeak, a sag, a stutter, a scrape. Listen to it. Fix the small thing and the big repair never comes due. And when a repair is beyond homeowner maintenance, the job is best left to someone who will stand behind it in writing. That’s how a gate lasts forty years, and that’s how we’ve kept Ironworks Gate Co. in business here for over four decades.
Written by Victor Salinas, Owner at Ironworks Gate Co., serving Cleburne since 2013.